JAMMA Test Rig
March 2016
23-03-2016
My most current project is a JAMMA test rig. The main purpose of which is to be able to set up a space in my workshop where I can easily test arcade PCB's that I am working on. Currently I have to take a game inside and plug it into one of my JAMMA cabs to see if it is working which is a bit of a hassle. Space is a premium in my workshop and I didn't want this to take up too much room and additionally I wanted to be able to utilise an existing LCD I had sitting around as the monitor. The following group of pictures represent some of the initial designs I came up with and the initial assembly of the box. I have to mention that I did a lot of this on the fly and if I had my time again I would probably make sure my design was a lot more robust before proceeding. I am not a master carpenter after all. What do they say, measure twice and cut once? :)
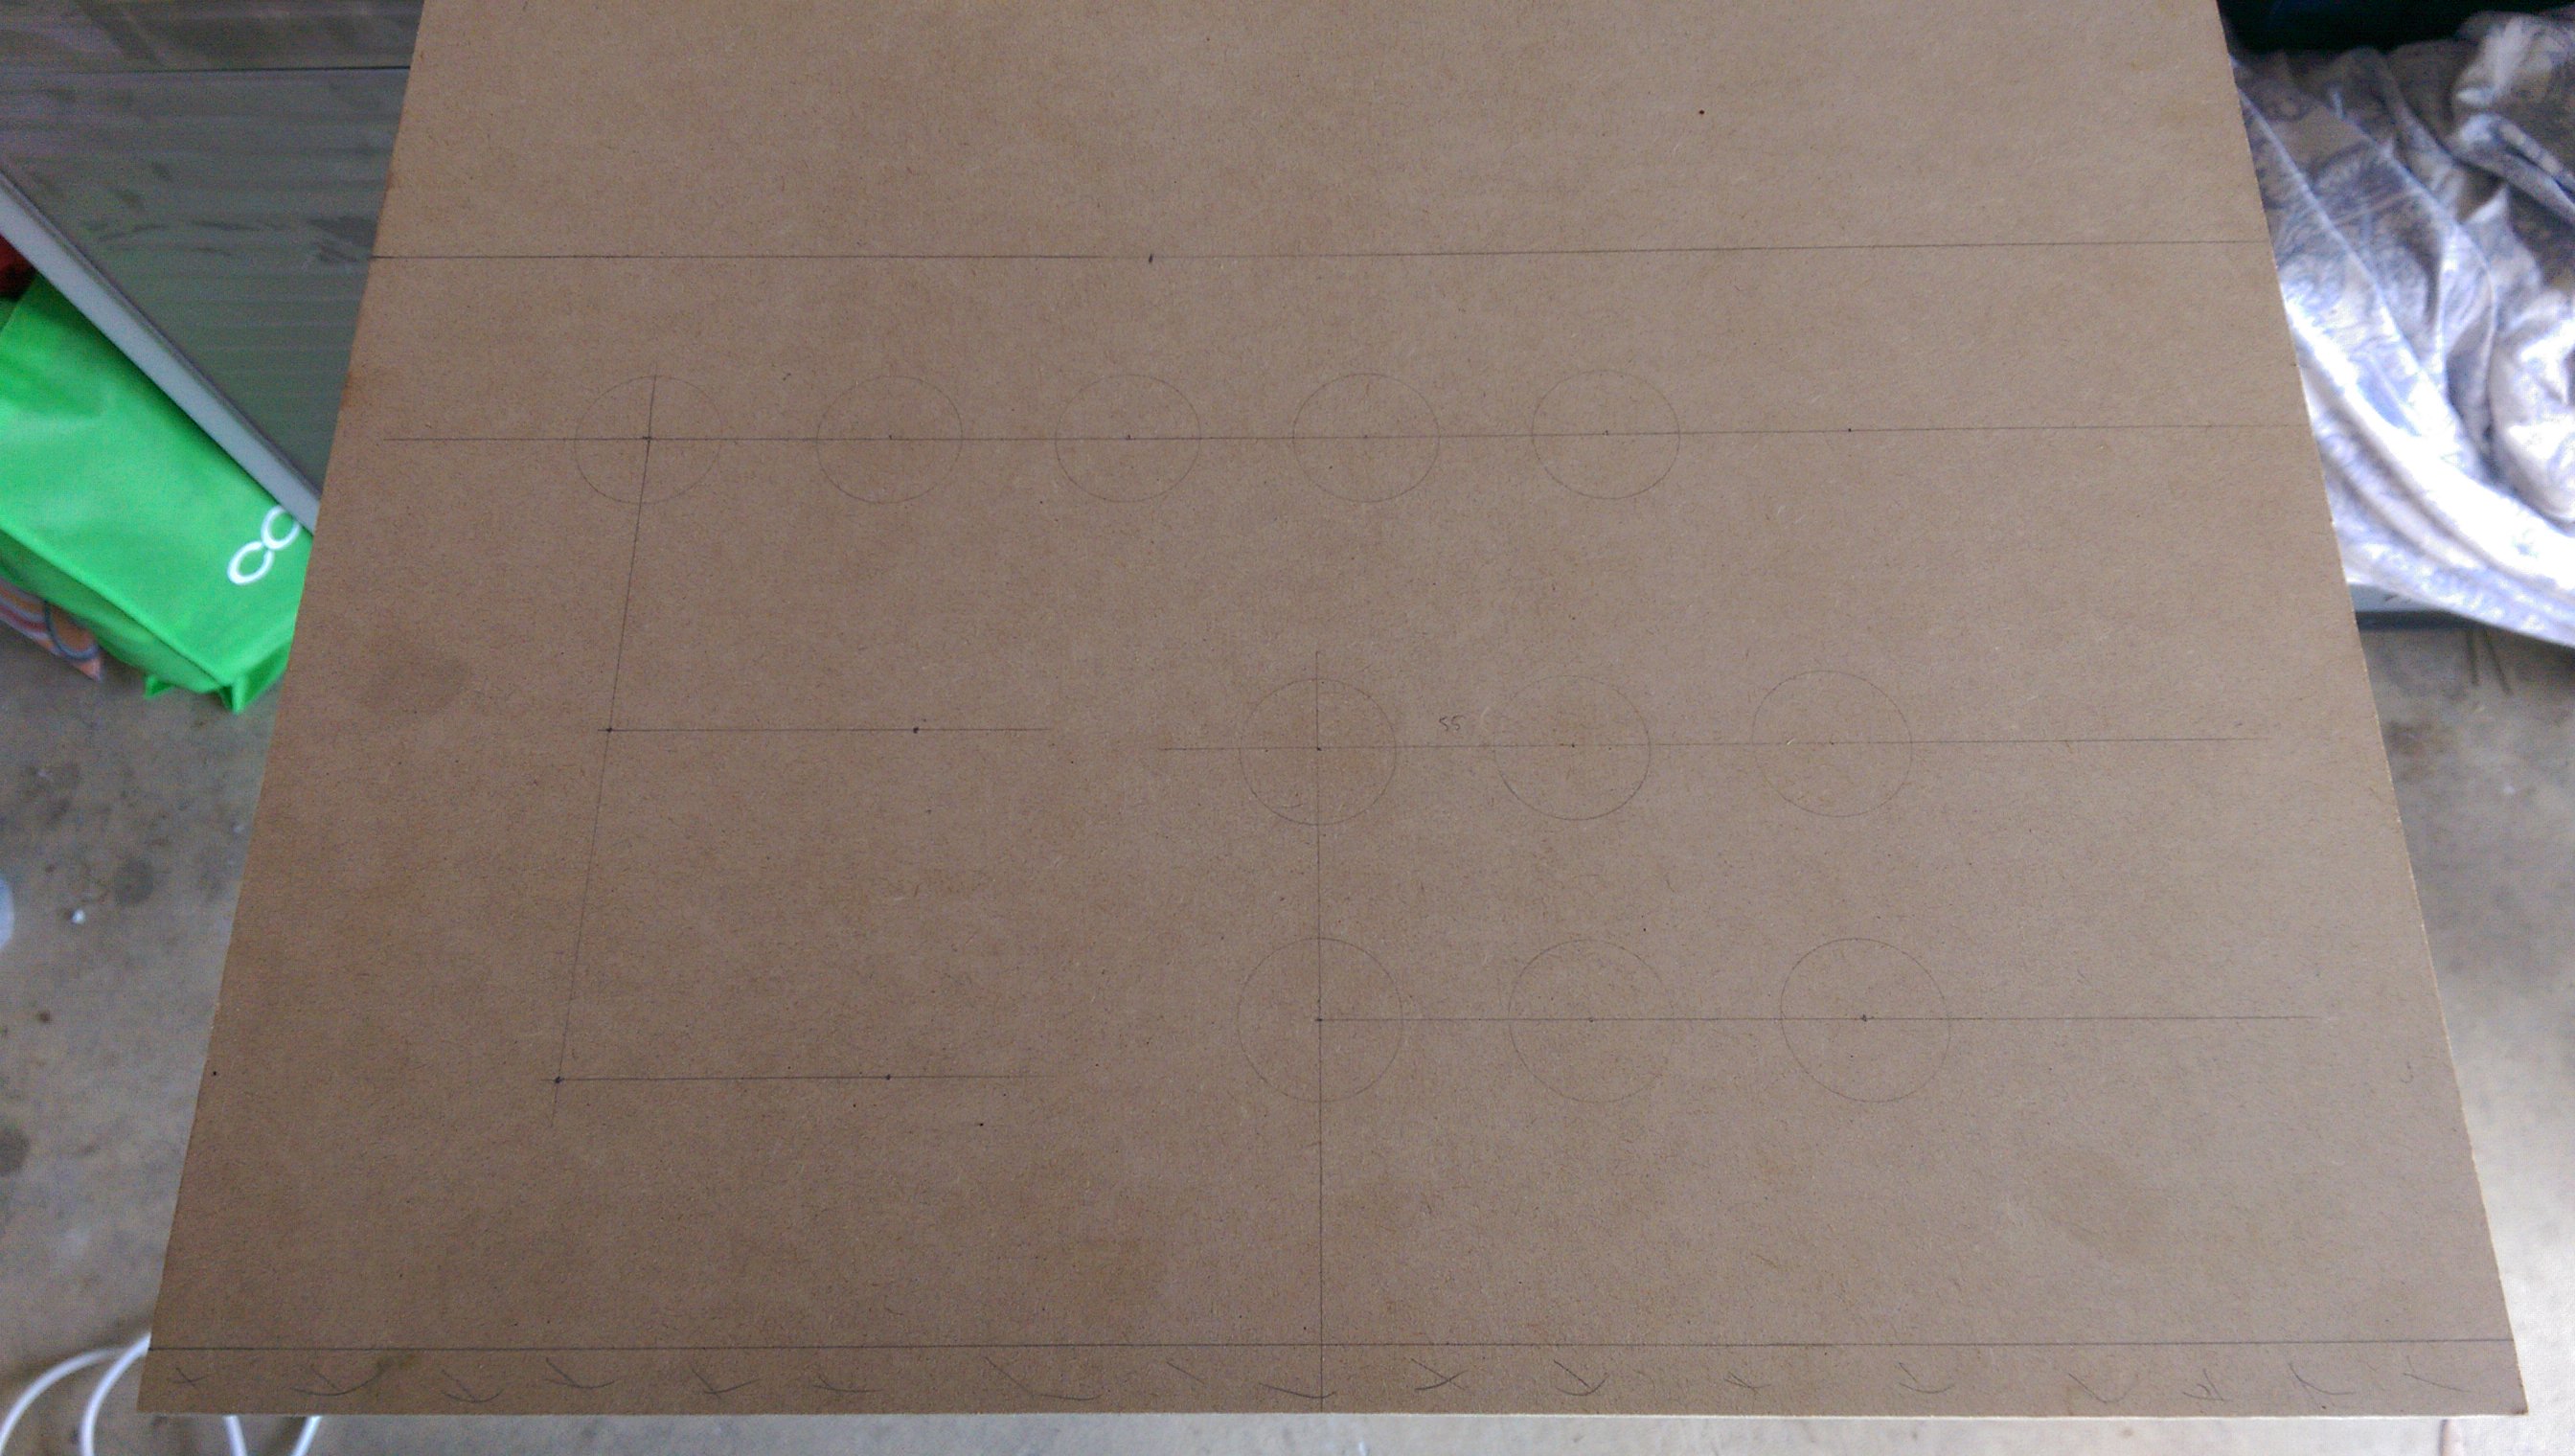
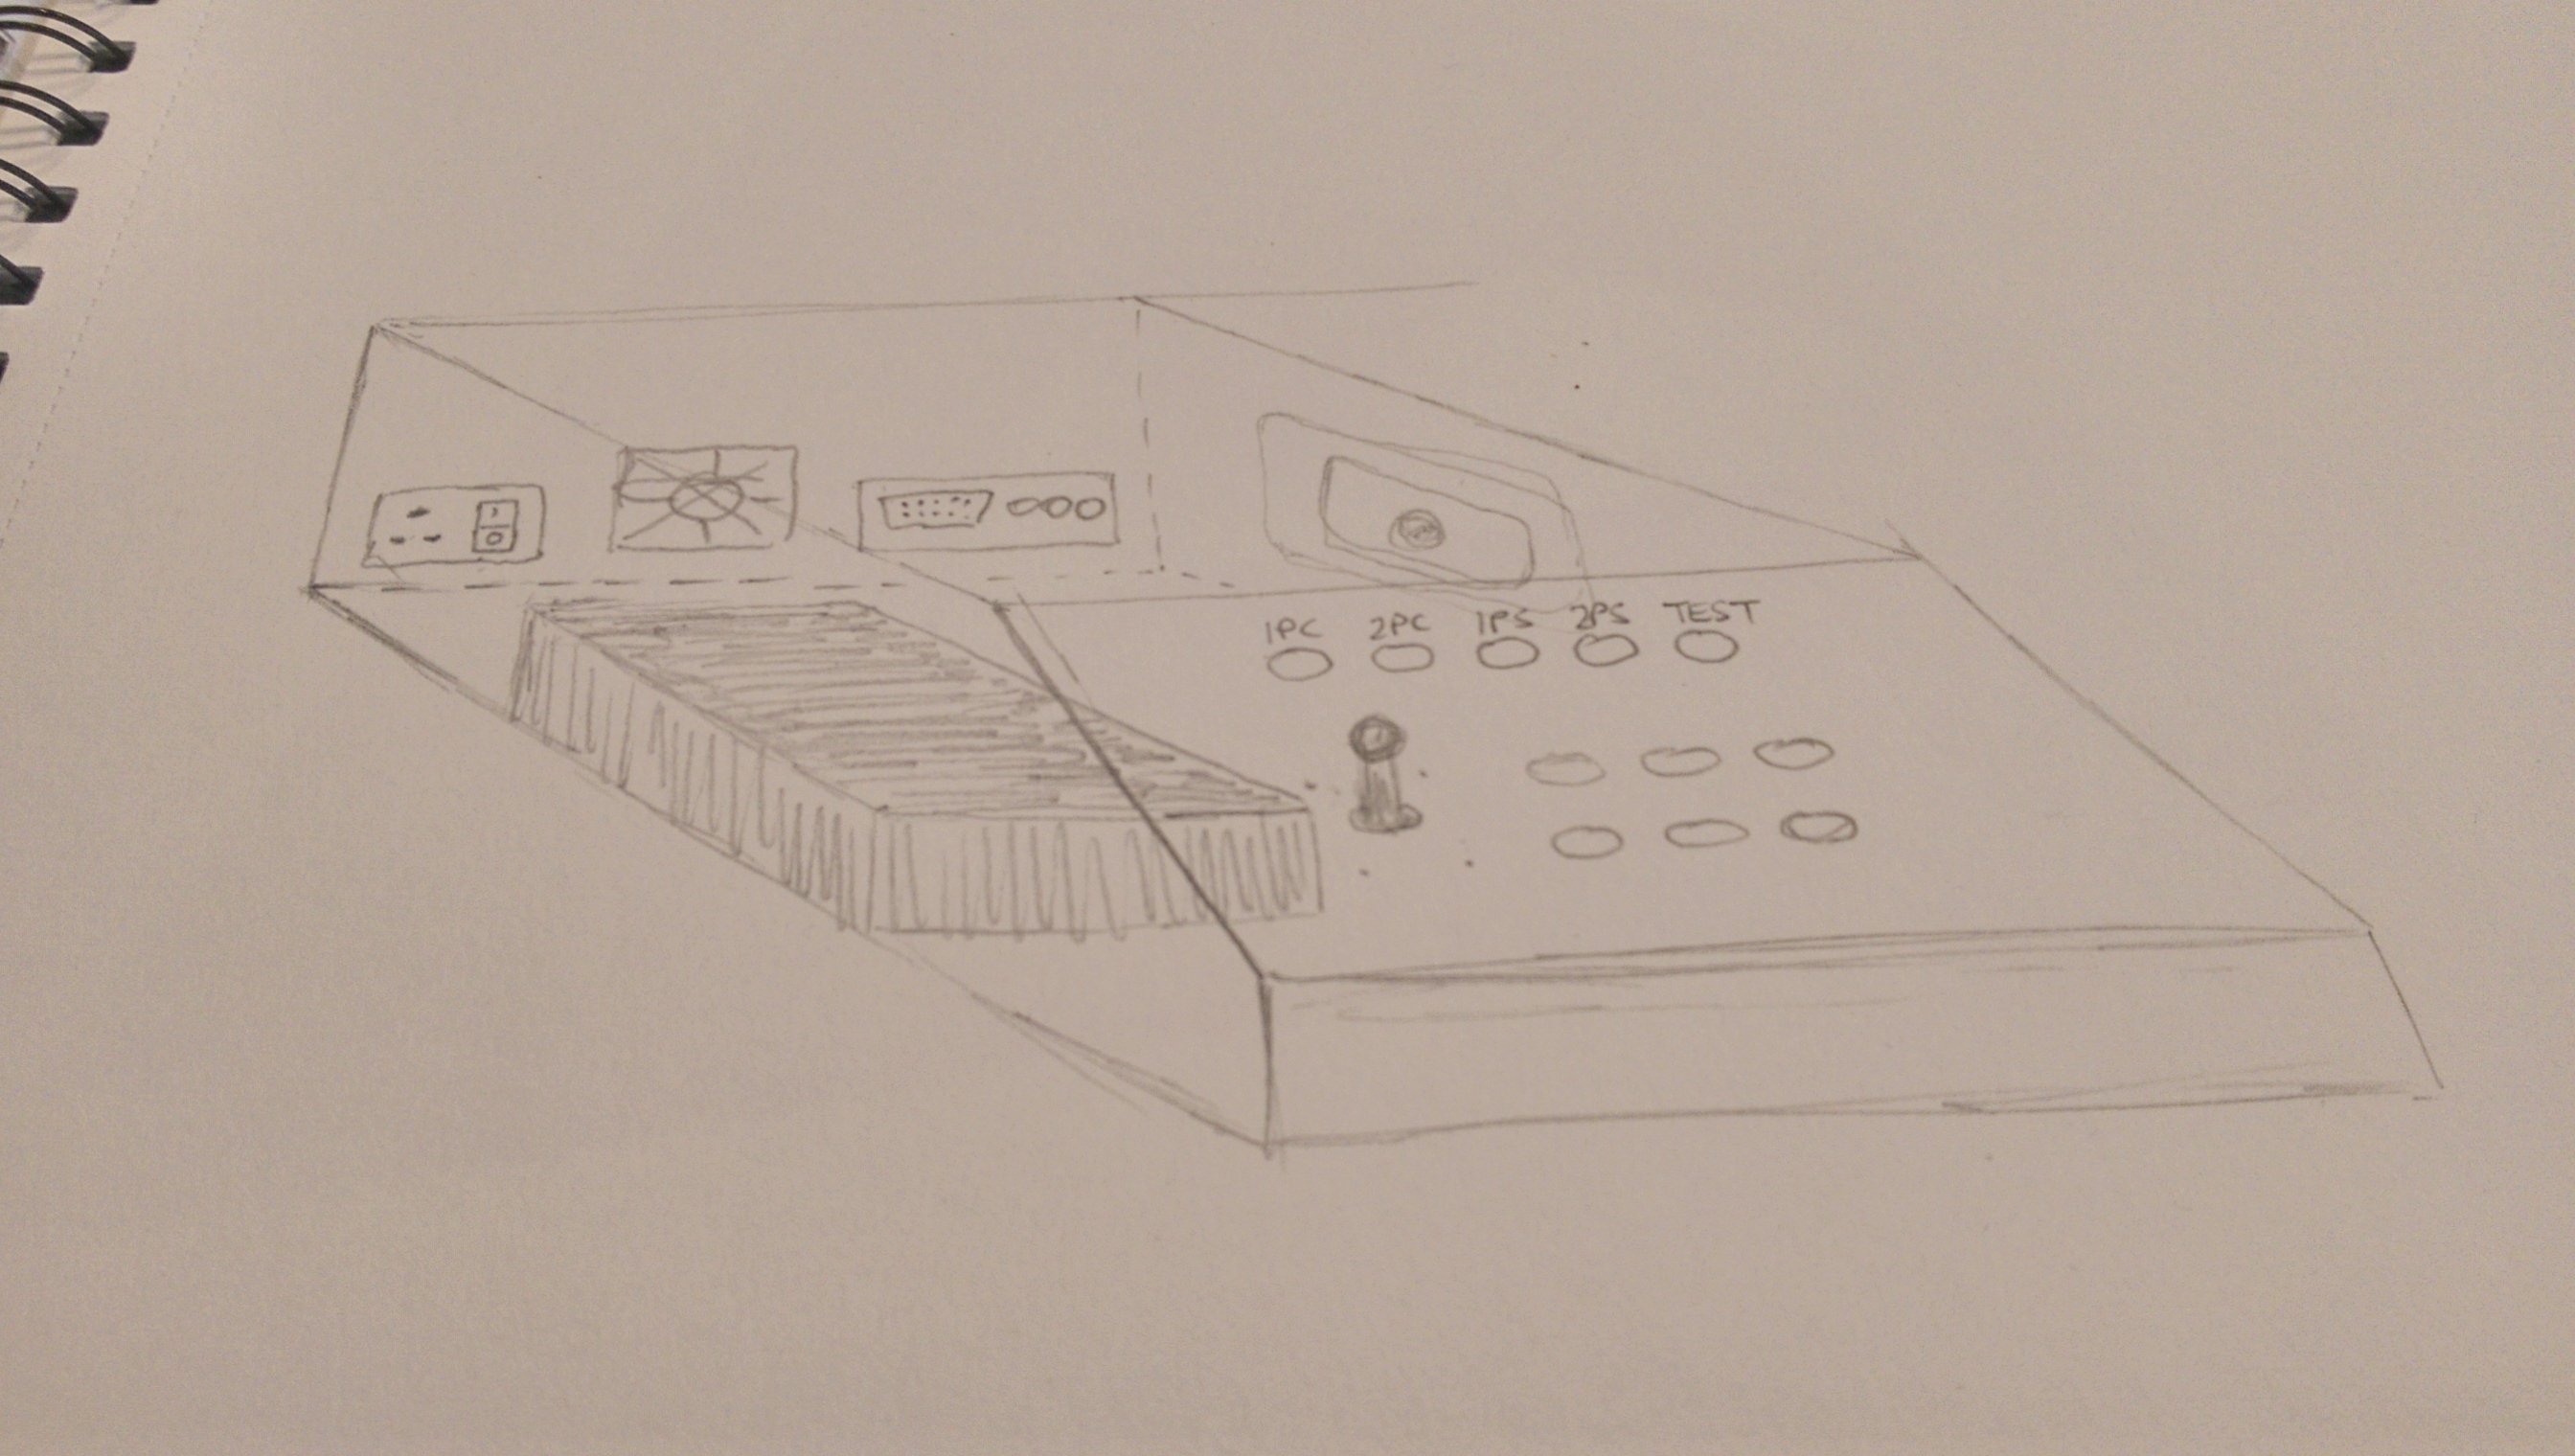
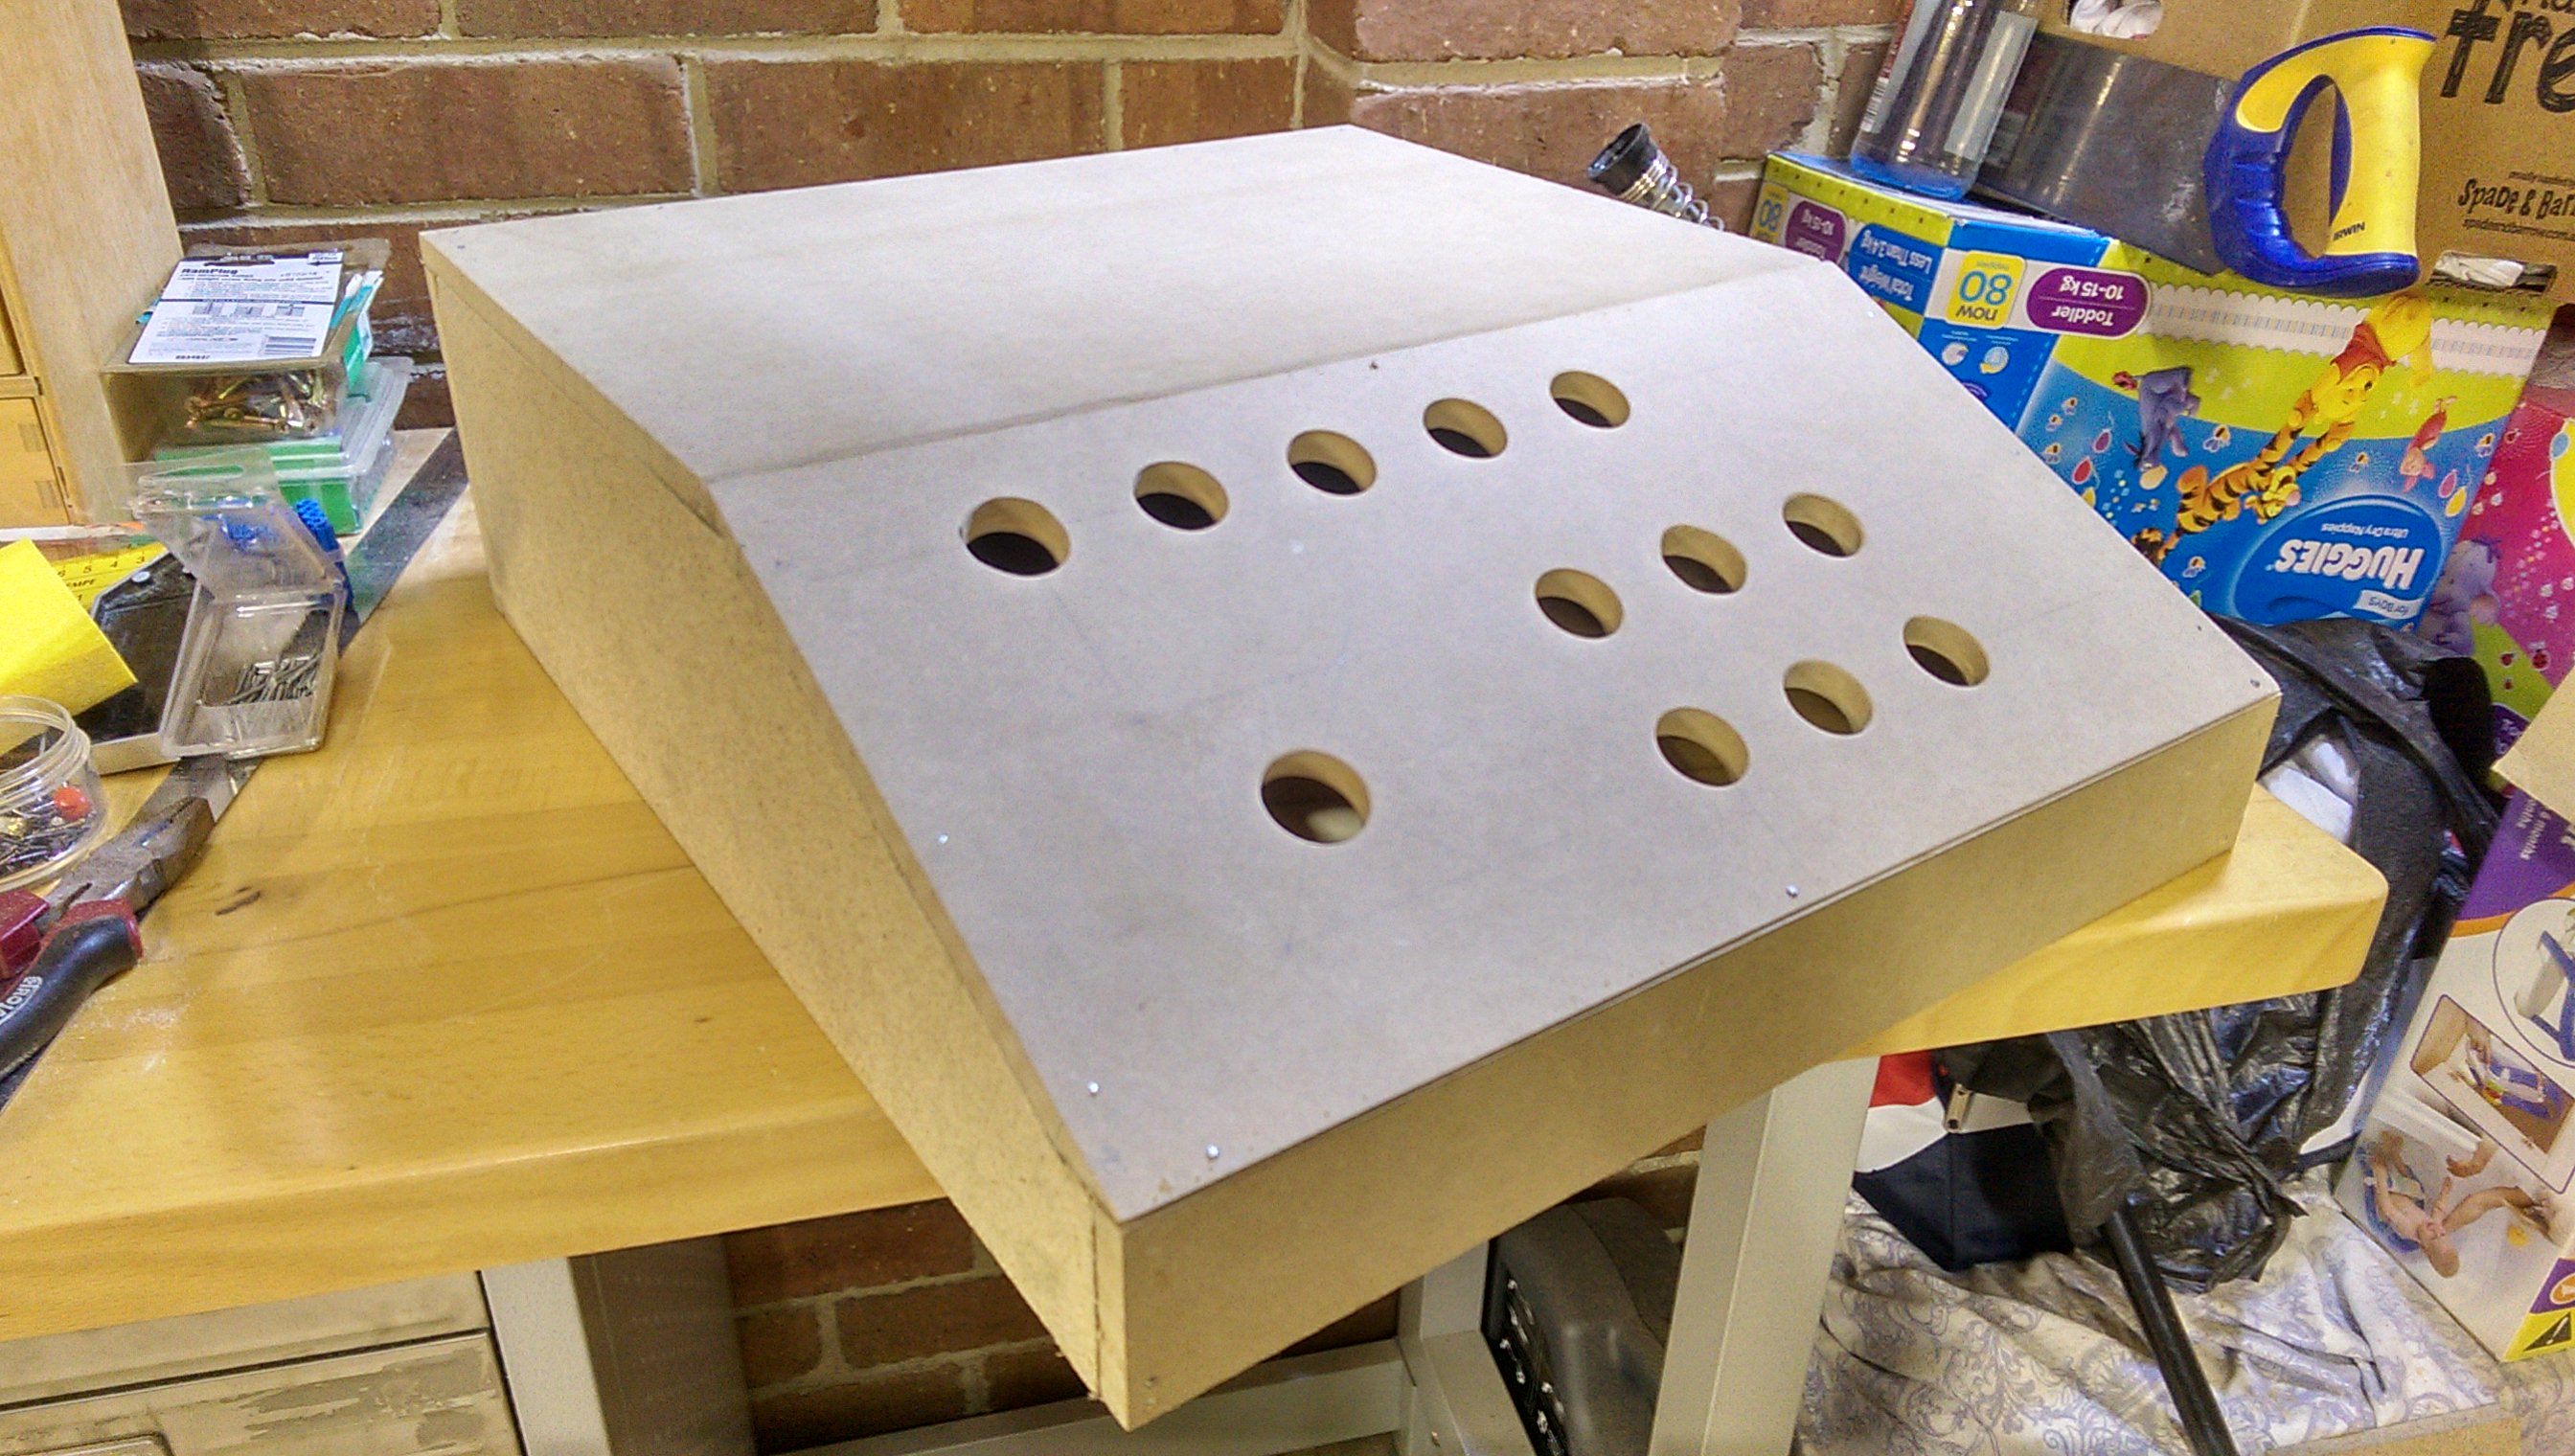
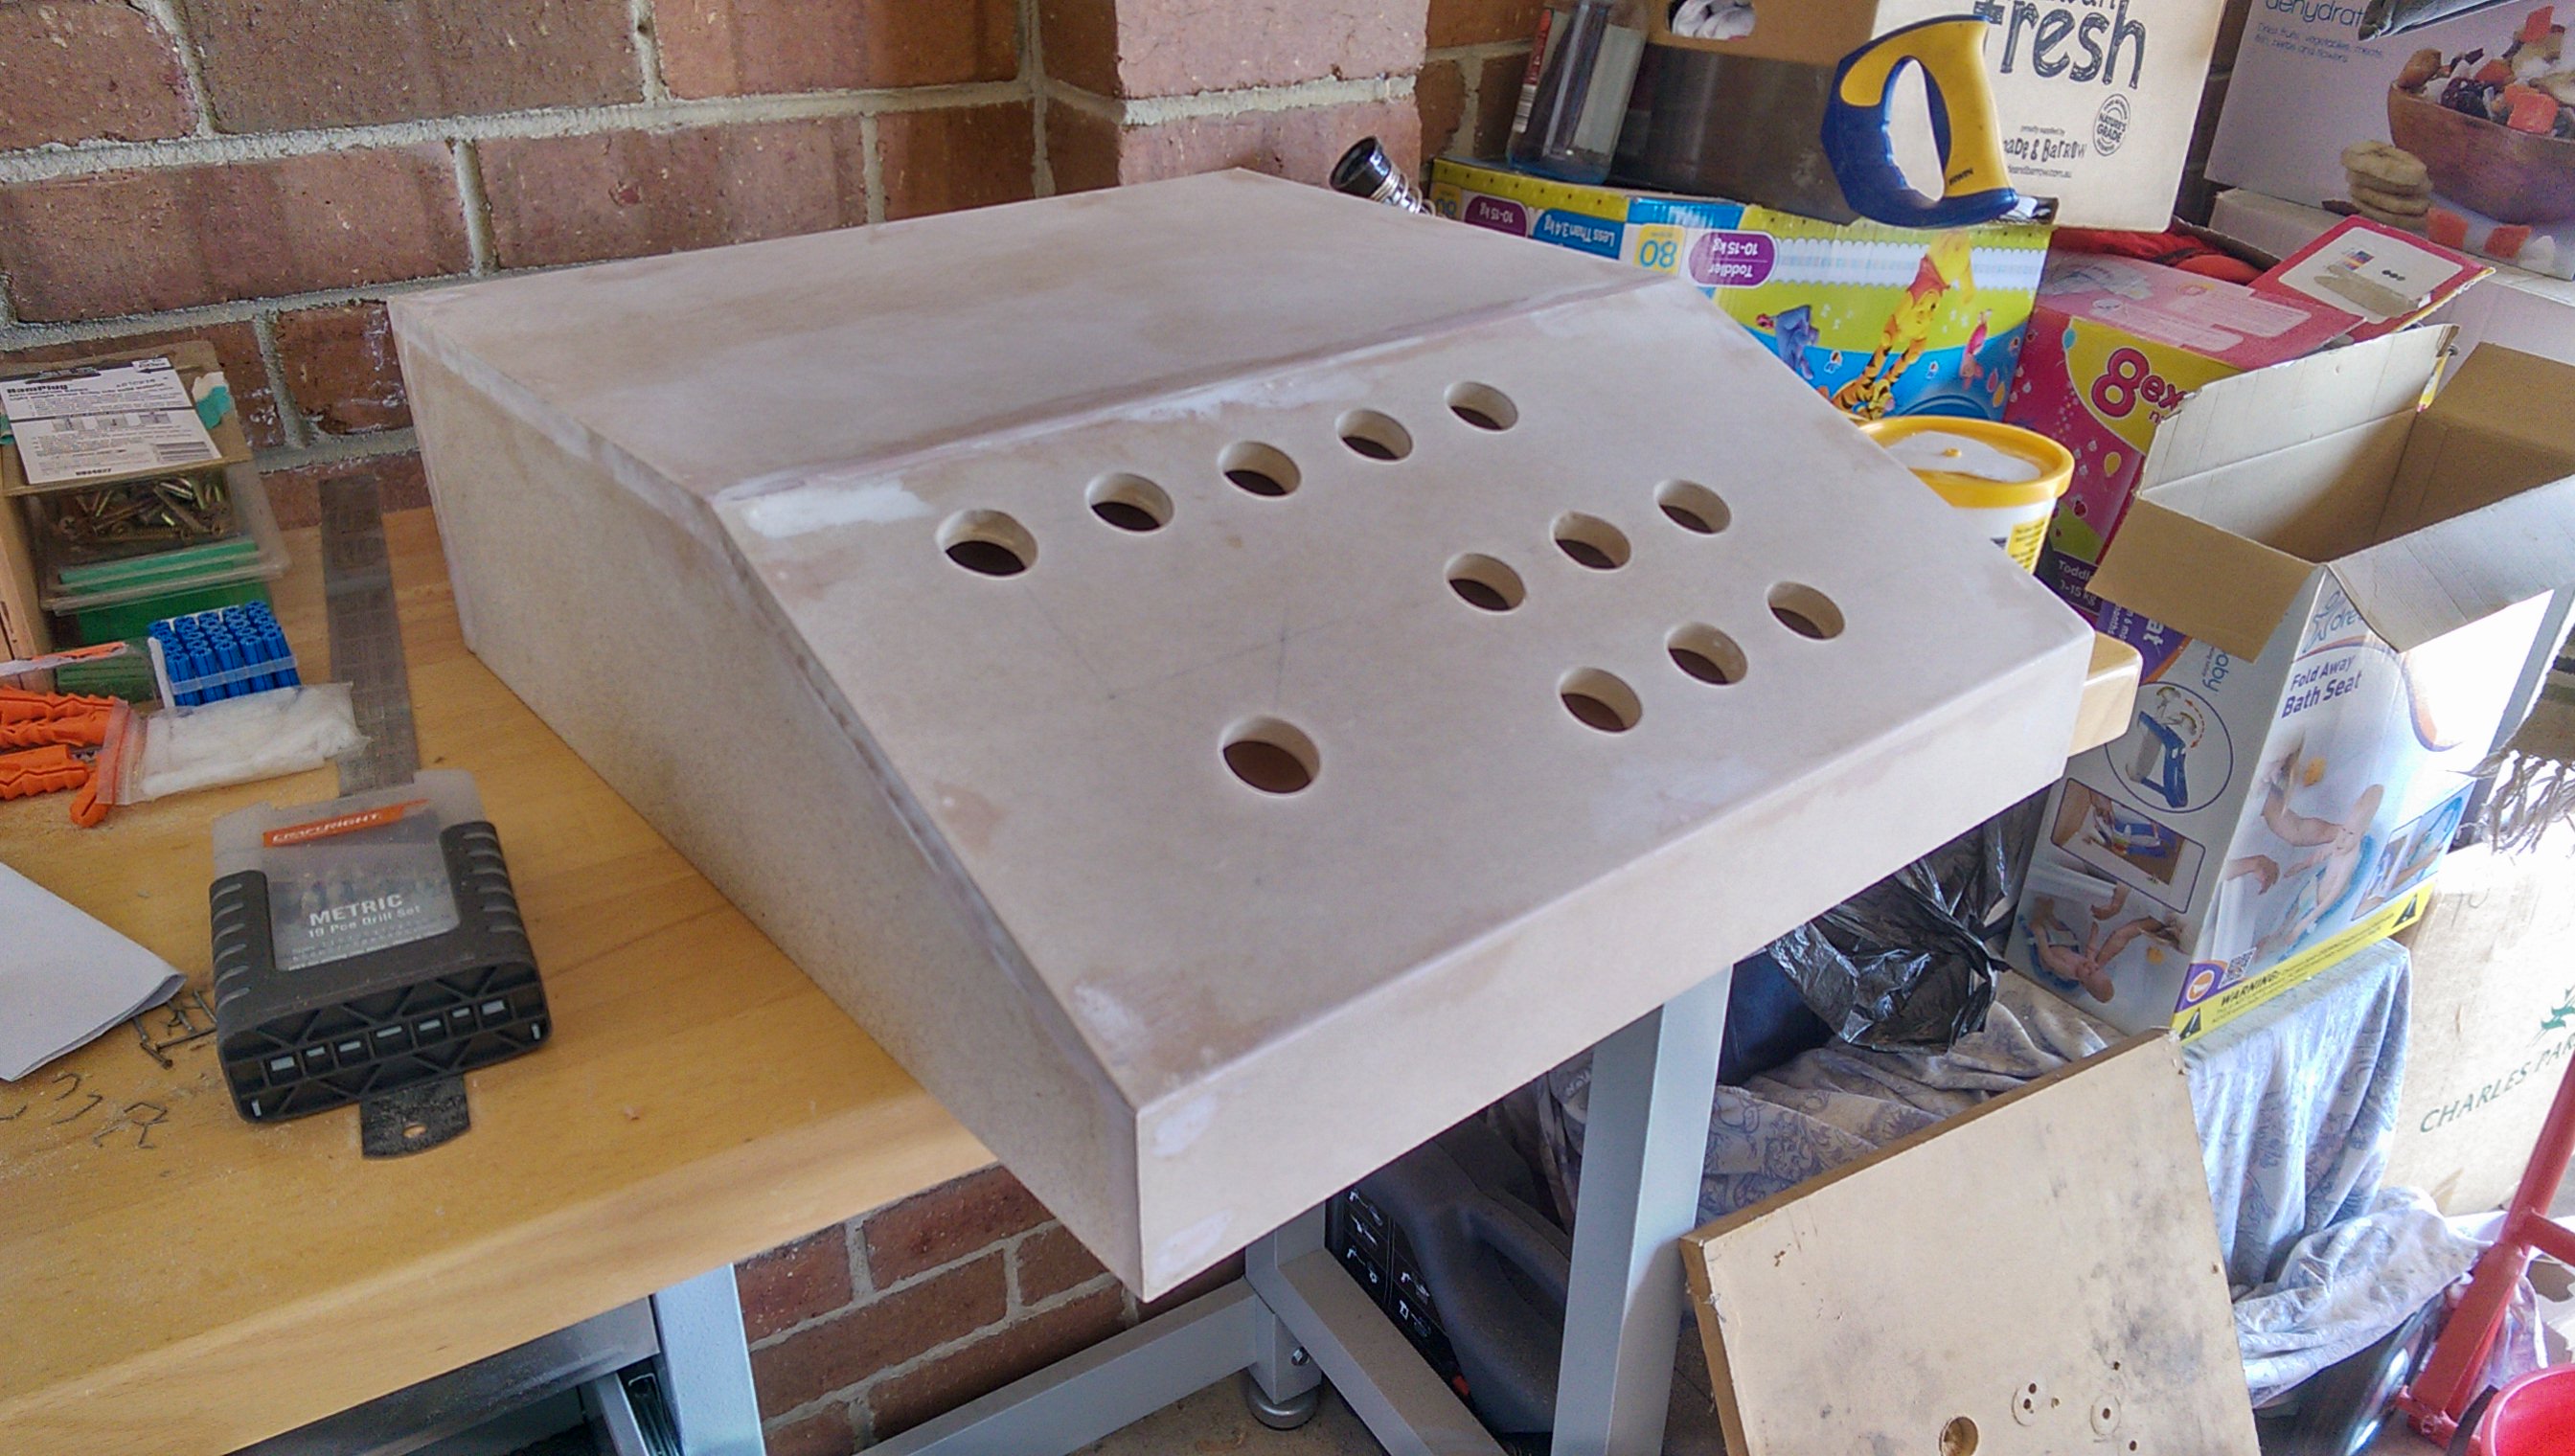
When designing this I wanted to make sure I covered as many of the standard game functions as possible on the test rig. I have included buttons for Player 1 Coin, Start, Up, Down, Left, Right, Button 1, 2, 3, 4 (5 & 6 if I want to plug in a kick harness later on for CPS1 or 2 PCB's), Player 2 Coin, Start and TEST (Some PCB's use this to allow you to access test menus and on screen DIP settings). In terms of the shape of the box I wanted something that could comfortably fit in all of the buttons and also have a flat area on top to place a monitor. I am sure this first iteration is going to a be a bit bulkier than I really need but I am sure I can refine the design with the next one I build. It is my first crack at one after all.
In terms of the parts and resources that I needed for this build, this makes up the majority of the list. Keeping in mind that I just realised last weekend when I was wiring it all up that I forgot to cut a hole for a speaker, that too needs to be added to this list.. oops. Anyway, here is the list:
- Sheet of 12mm MDF (I think I got a sheet roughly 400x1200mm)
- 15amp arcade PSU
- CGA/EGA to VGA adapter (This is to convert the JAMMA video signal to VGA so I can run it off an old LCD I had lying around) - eBay link
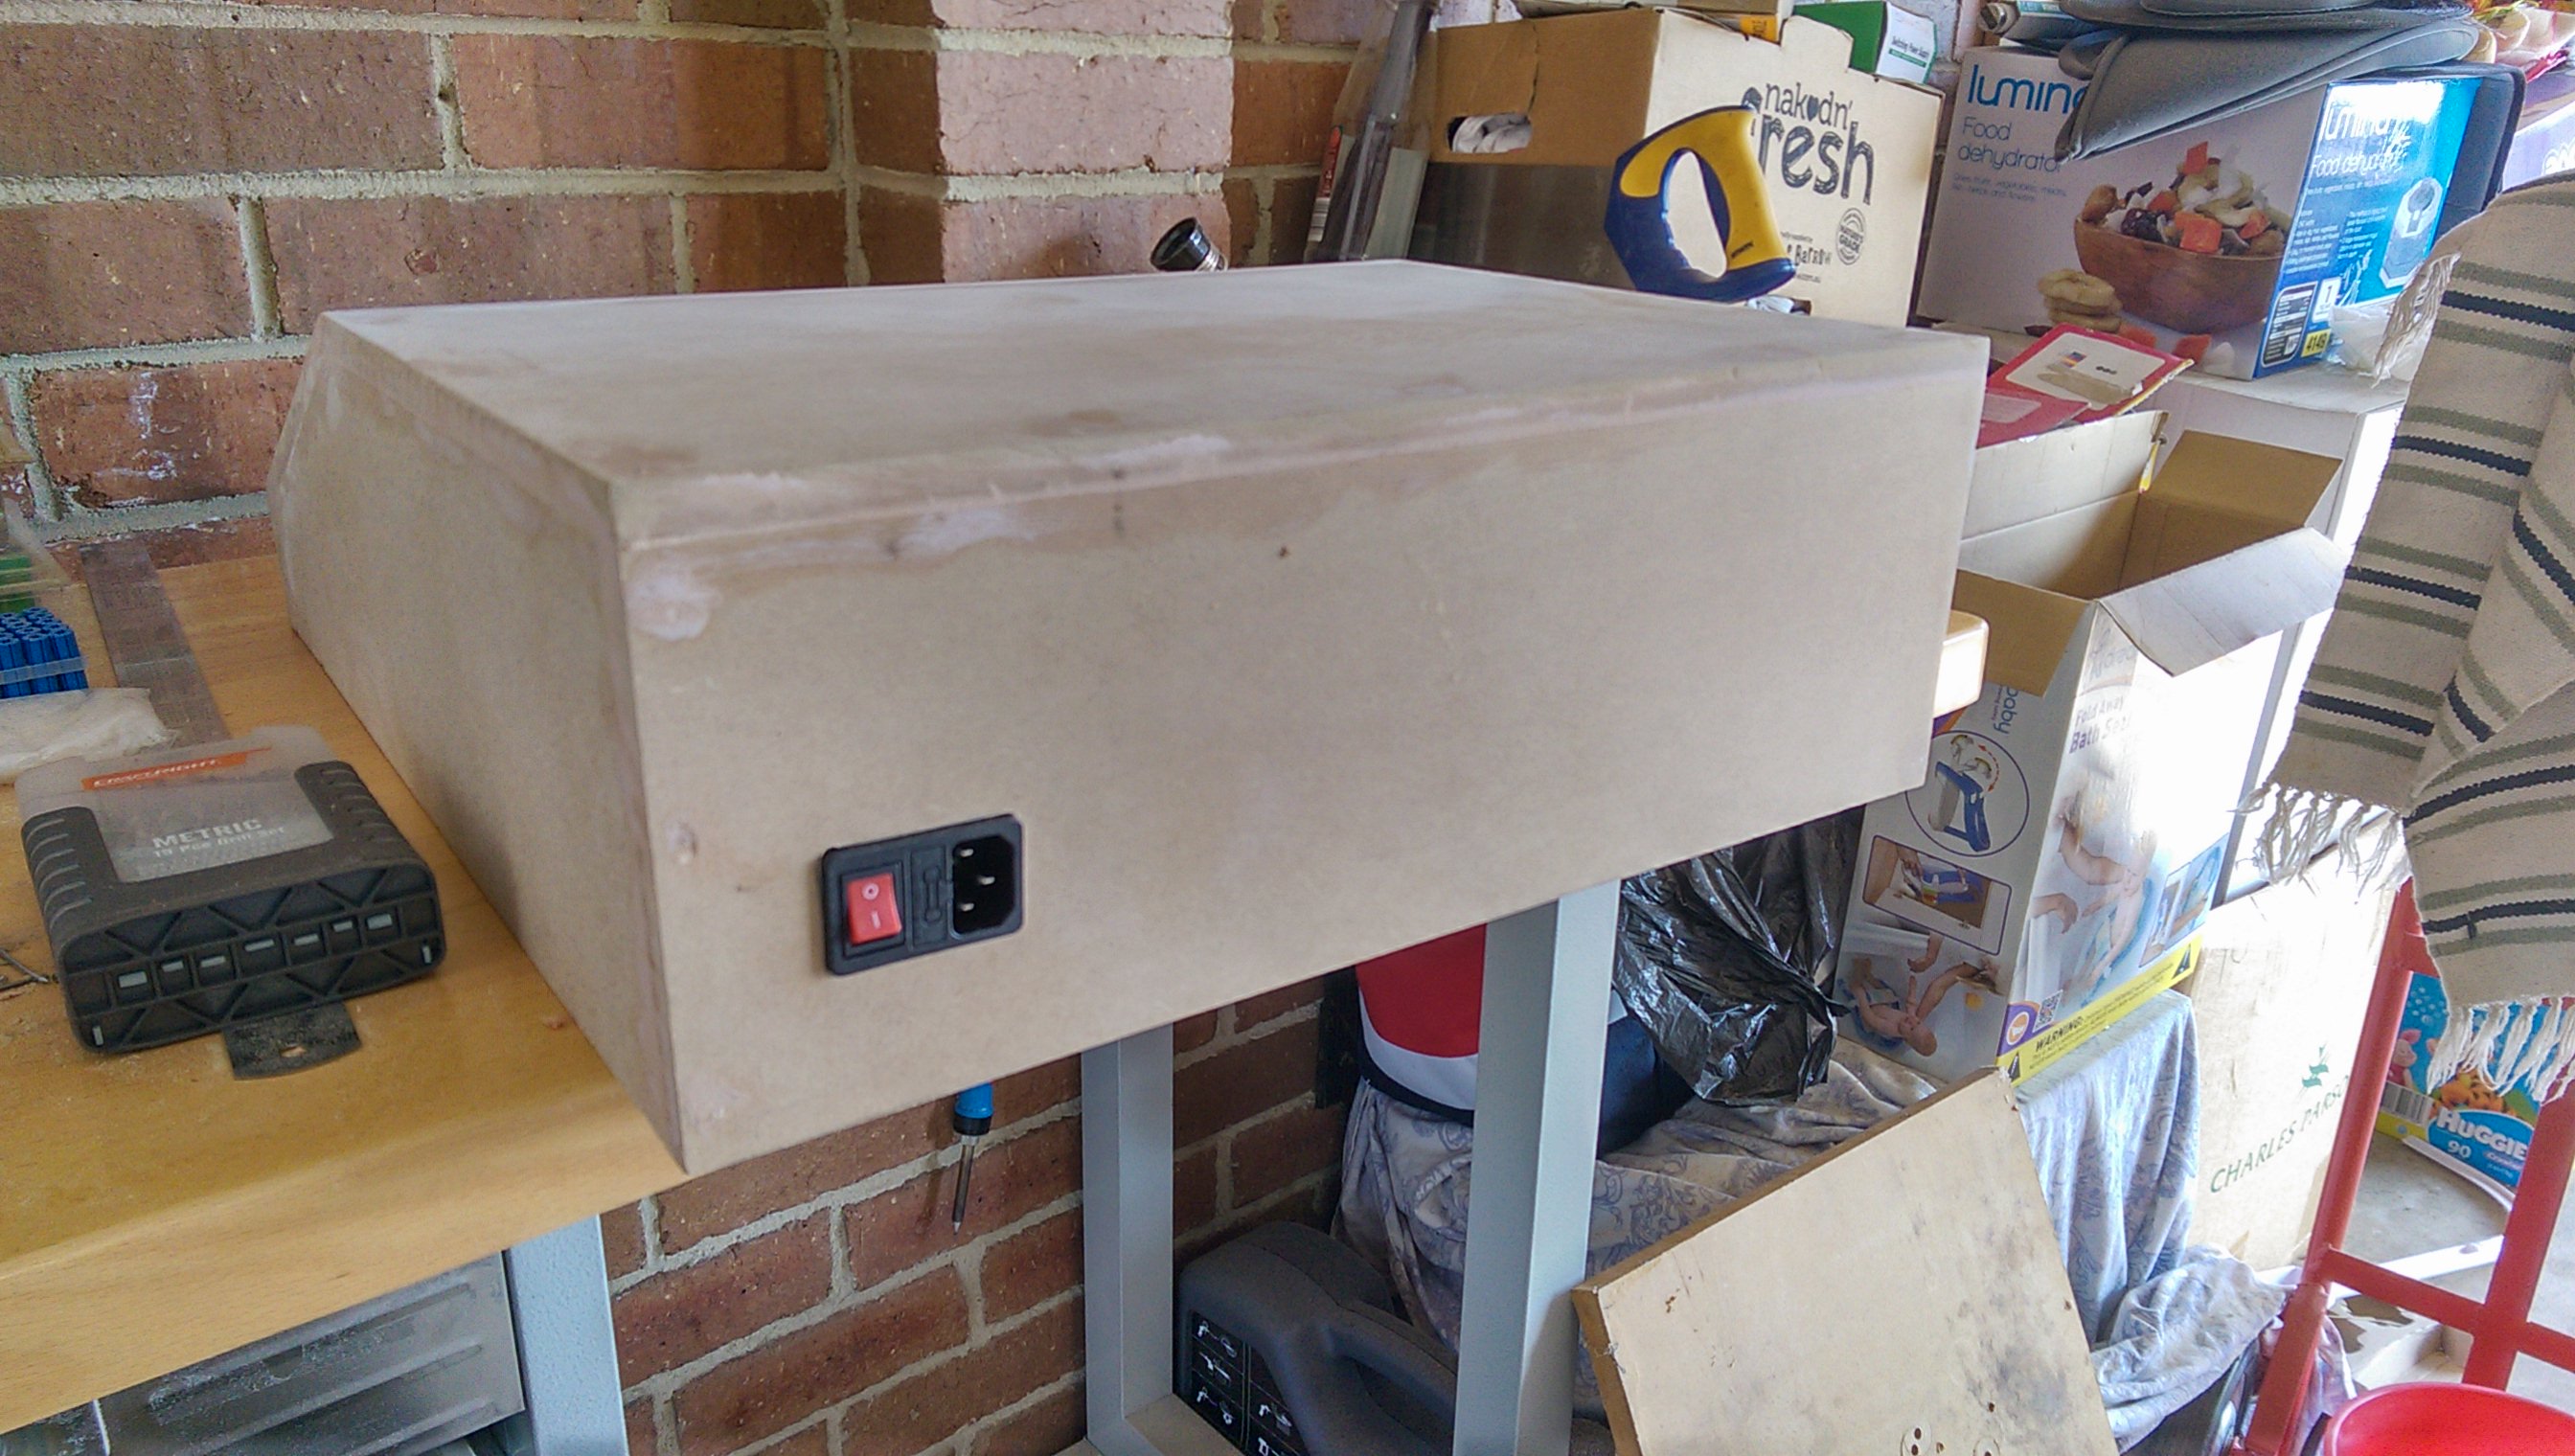
- IEC male power socket with switch (Just a nice clean way to run power into the test rig)
- JAMMA harness and wiring loom (becasue who want to wire one of these up manually!? (for $16 it saves a lot of hassel)
- I used some Taubmans 3 in 1 to seal the box before painting
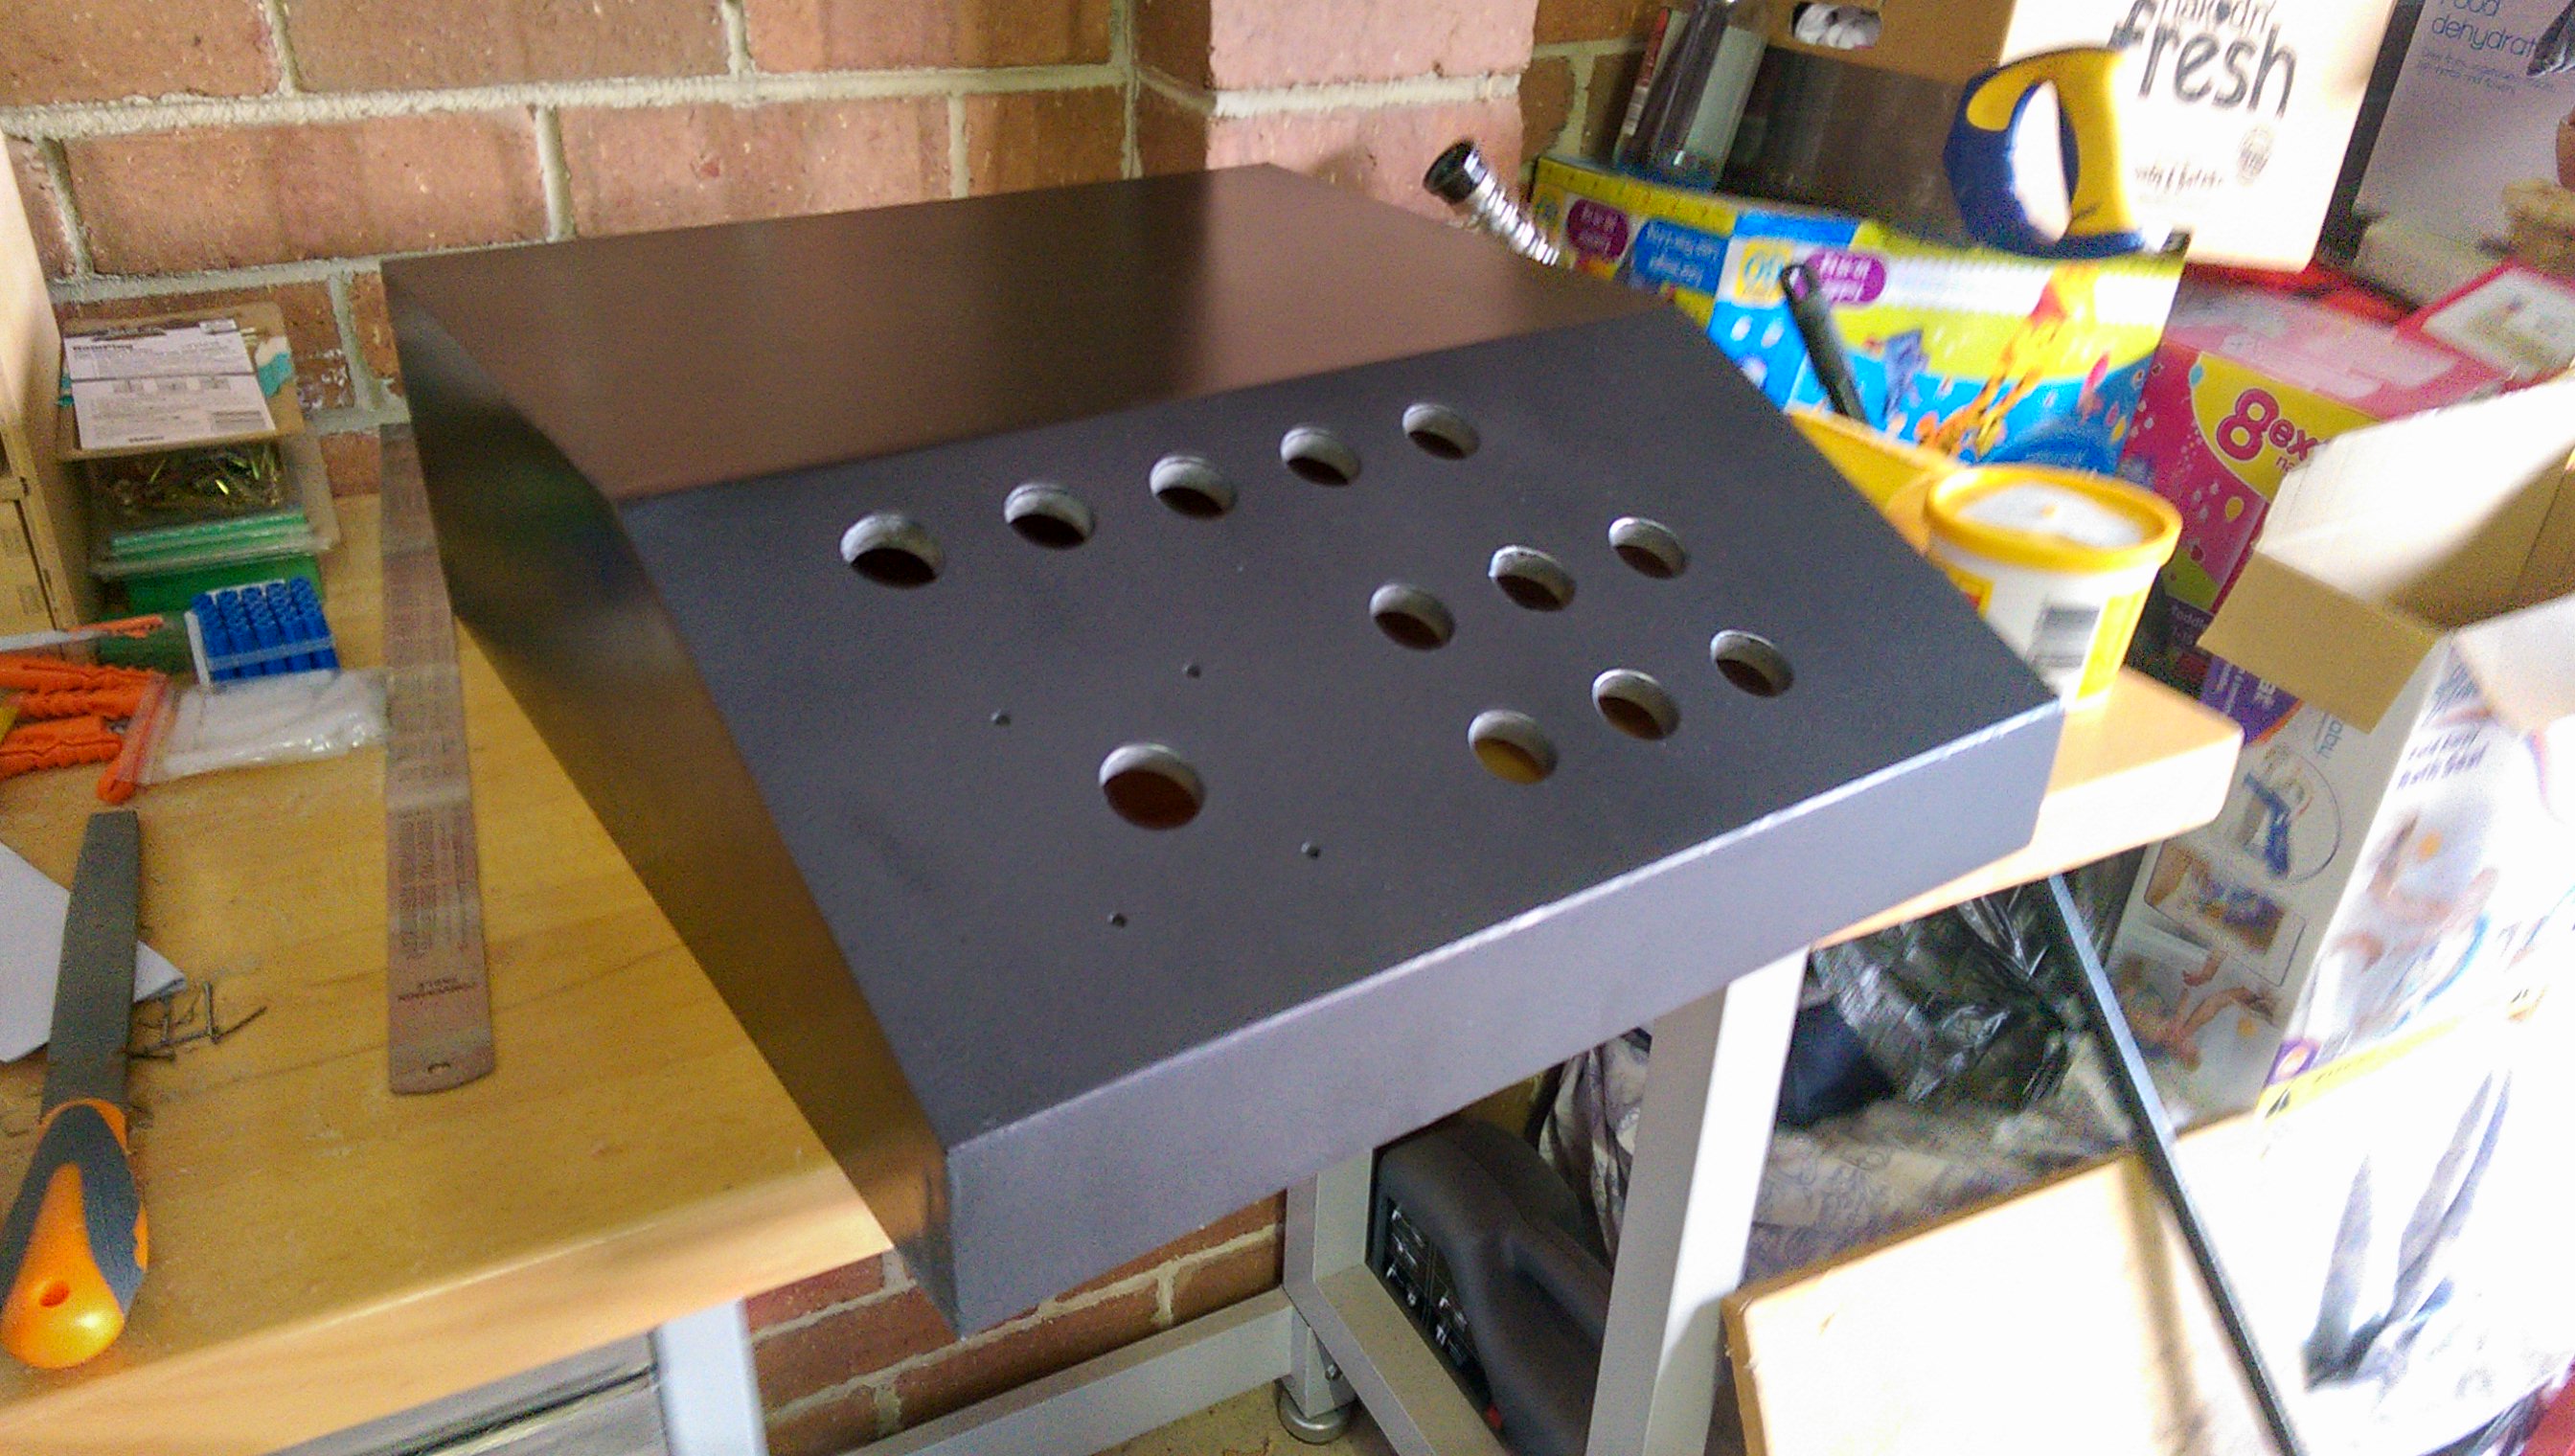
- I just used a charcoal grey spray paint to make it look half decent (didn't turn out too badly as you can see above)
- 11 arcade buttons and micro switches (luckily had enough spares lying around for this)
- x1 arcade stick (had a spare MCA, nothing but the best!)
- x1 speaker (need to find one this weekend)
- x1 fan (I did plan to have a rear exhaust fan but haven't cut the hole yet) Not a big deal, I will get one in there eventually.
My progres so far. From the pictures above, you can see that I have assembled (not without a lot of hassle) the main box and have painted it. I got most of that done over the labour day long weekend, and then weekend I was able to populate the rig with the buttons, the stick and get the majority of the wiring completed. I still need to finish wiring up the IEC socket into the PSU as well as run power to the VGA adapter. This I should be able to complete this weekend and hopefully can find an appropriate speaker to throw in there as well.
More updates and pics to follow...